When I saw that Funky Junk's SNS 138 was featuring Pallets and Reclaimed Wood projects I had to repost this project, it's one of my favs to date and I'm looking forward to doing more like it. I think it was a post that Donna did a while back on how to select the right pallet for a project that started my obsession. I'm very luck to have a good friend in the printing business and he now sets aside pallets that he thinks will work for my projects.
Here is the post on my pallet project ...
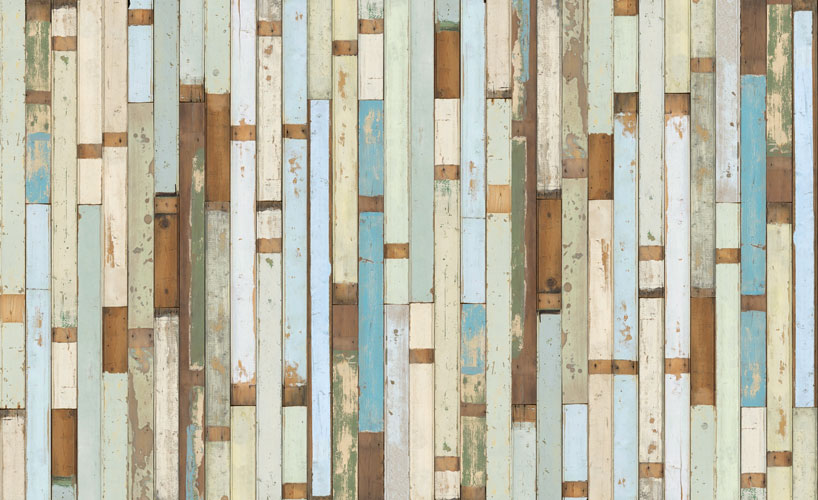
I have been obsessing over pallets and distressed wood lately. Pinterest has just been adding fuel to the fire. Initially I wanted to cover one complete wall in the living room with pallet boards, or Piet Hein Eek scrapwood wallpaper which is totally out of my budget!
I love this wallpaper!
Anyho, I recently asked my favourite Printer, Jim, what he does with all the Pallets that come into his building. He told me he either returns them or trashes them ... WHAT???? They're treasure I told him, I must look at them. So Frank came with me and the first beauty we set our eyes on was this one ...
I love her! I must have her!
She stayed in the back of my car for a few days, while I pondered what her future would be.
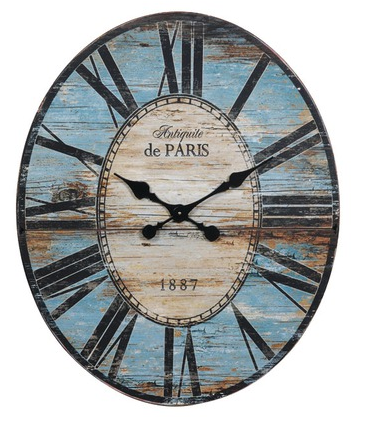
Then I received this image in an email from Joss & Main.
There's another image at their site with this clock resting against a skid/pallet and I loved the look.
I shared the image with Frank and told him I was going to make this clock and rest it against the pallet we brought home. He said "why don't you just paint the clock right on the pallet". Hmmmm.
OK!
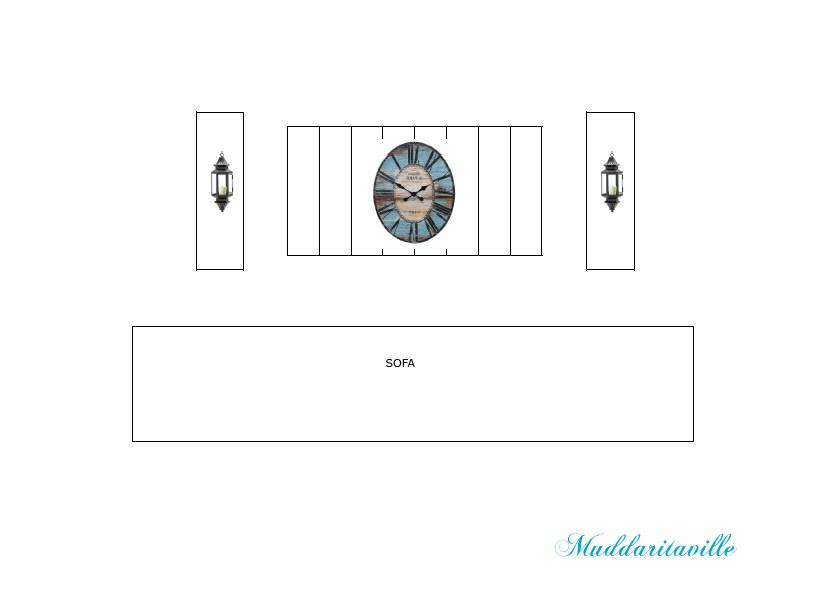
Above is my "plan" for the project and our living room wall, can you visualize it? Isn't it Cool?
So we got to work, Frank got to play with his Sawzall.
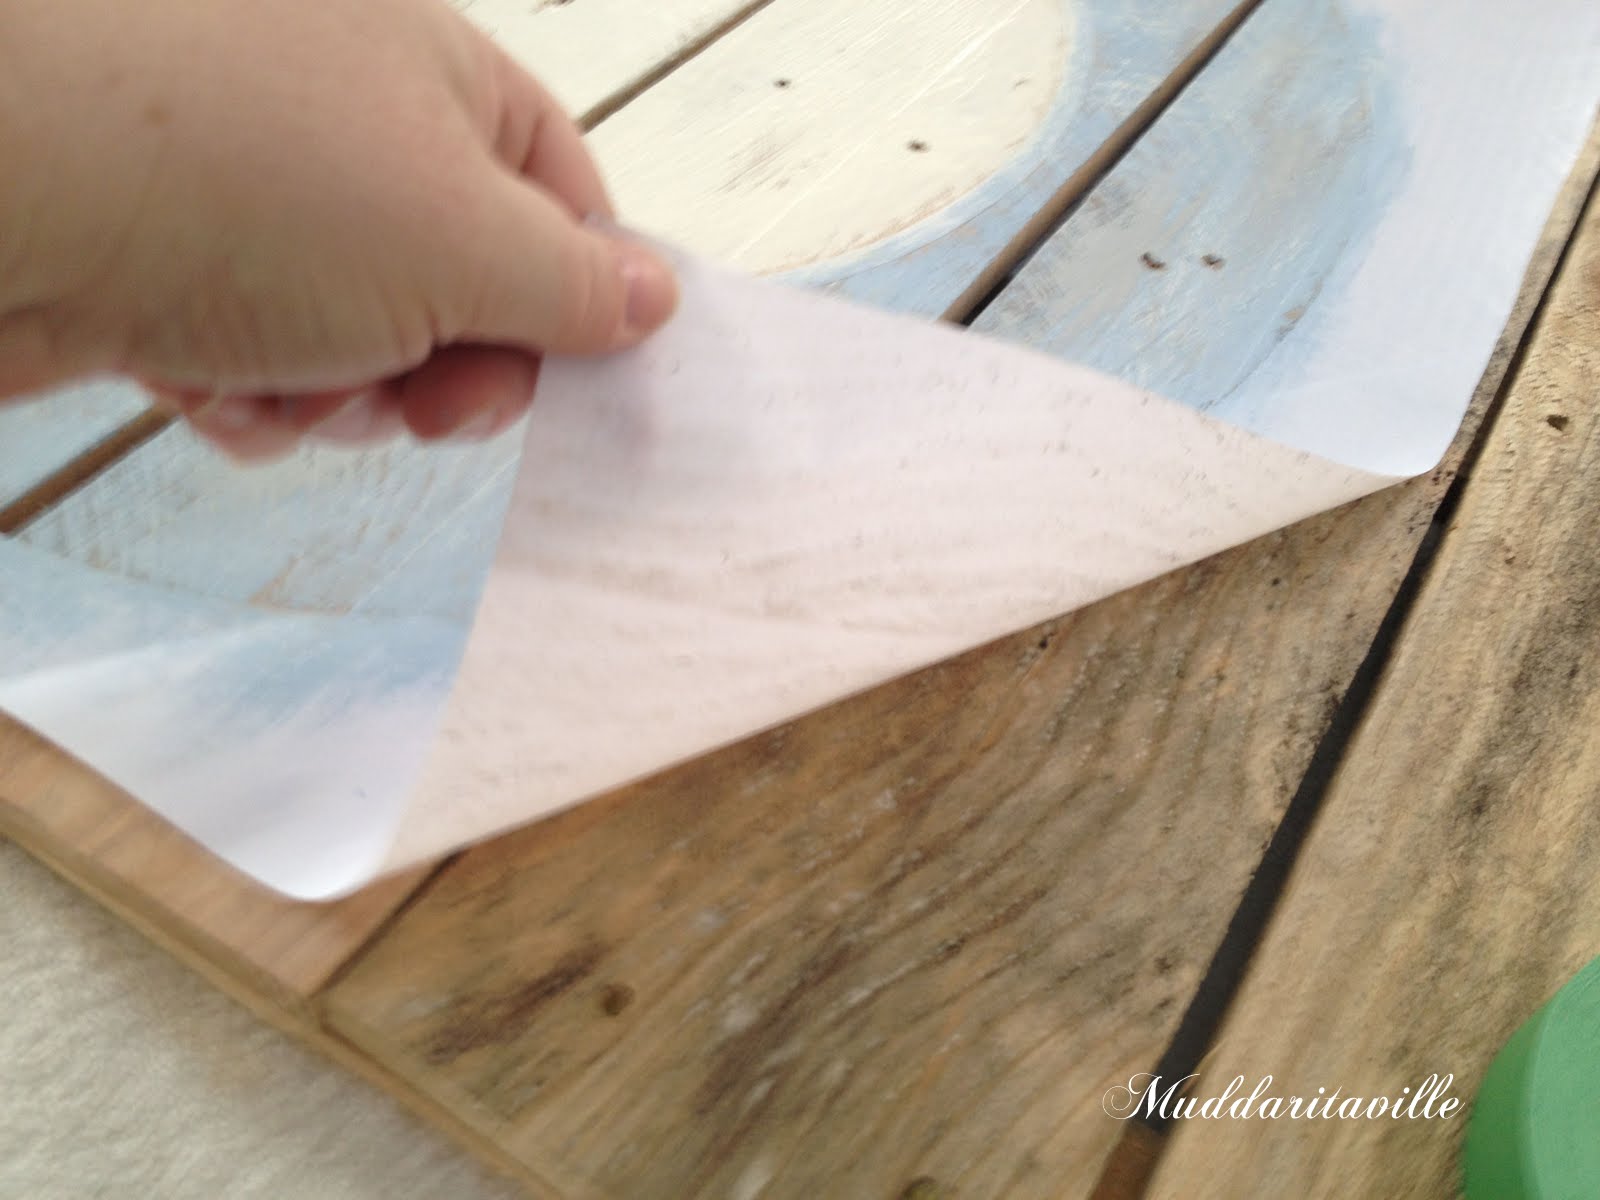
He removed the lower part of the skid for me. While he was doing that I was prepping my masks to make the painting easier.
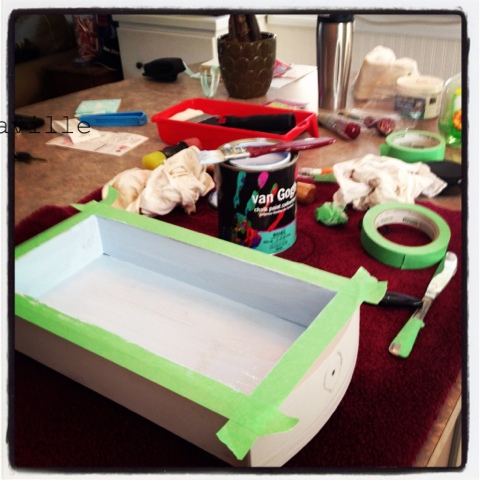
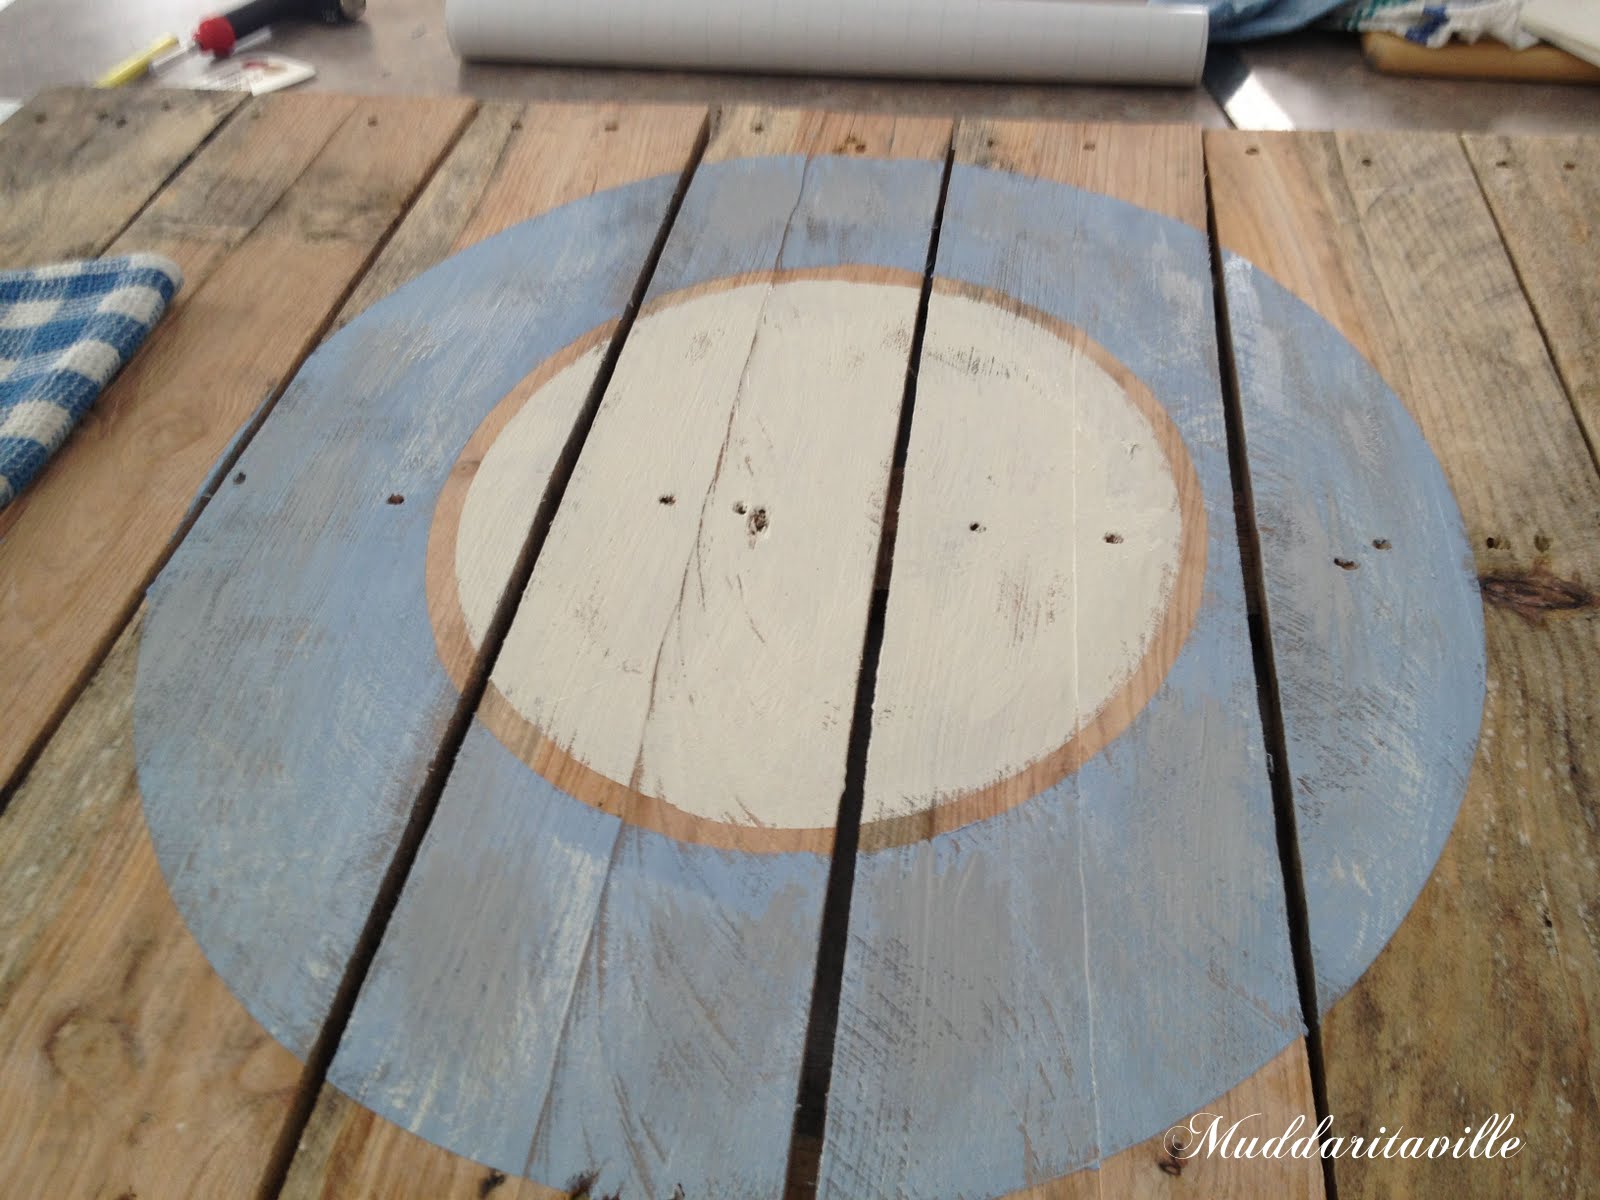
Here is the part 1, the background colours.
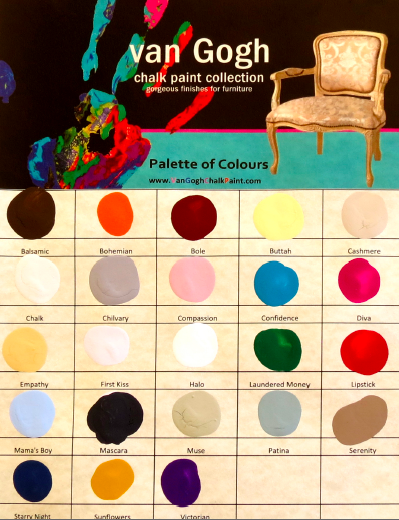
I used Annie Sloan Chalk paint as the base colours, the center is Old White and the outer section is mainly Louis Blue with some Paris Grey. I didn't go for complete coverage since I wanted the distressed look to come through. Once the paint was down I slowly peeled back the mask.
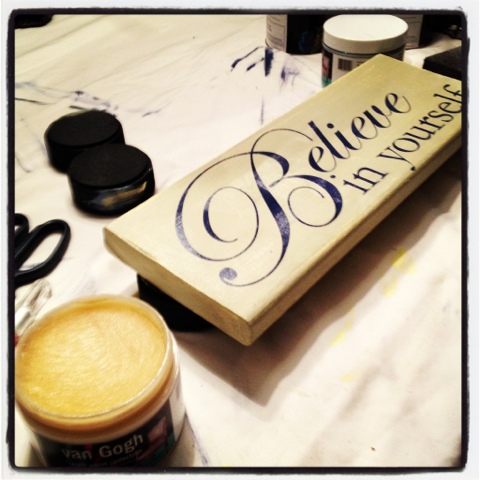
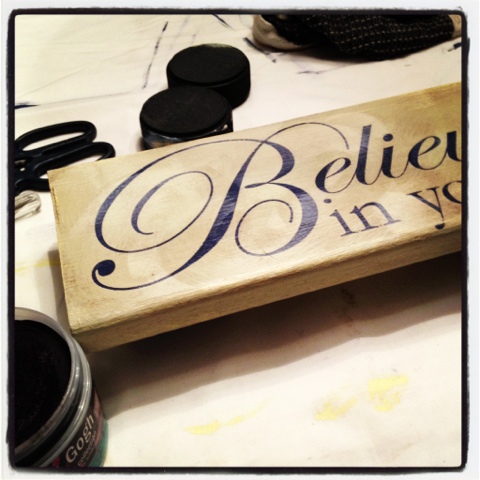
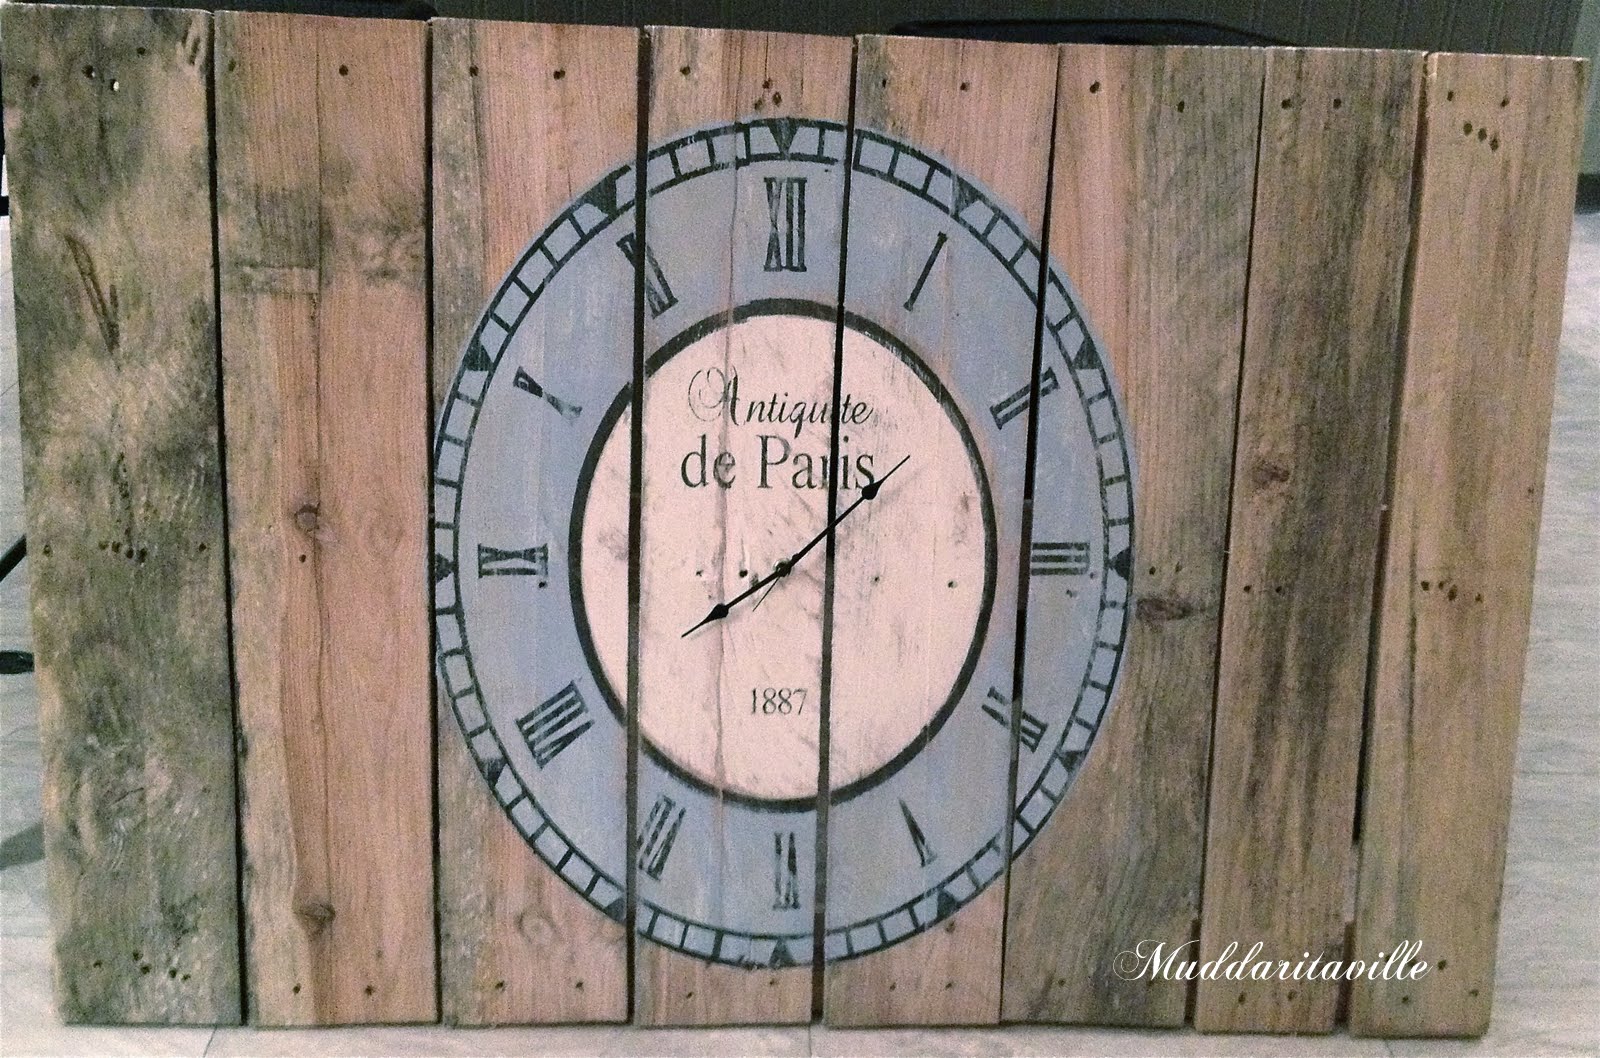
Here she is, what do you think so far? I do not know what I was thinking from here on as I do not have any photo's of the steps. So next I painted the border, and numbers with black acrylic craft paint. I used my Silhouette to cut my masks. It was a little tricky, since I had to tile the image to get the size.
Once the painting was complete we drilled a hole in the center of the board for the clock motor to come through. The hands are a little small but they were the best I could get without ordering online and waiting for them to arrive. I'm on a roll and I'm not waiting baby!
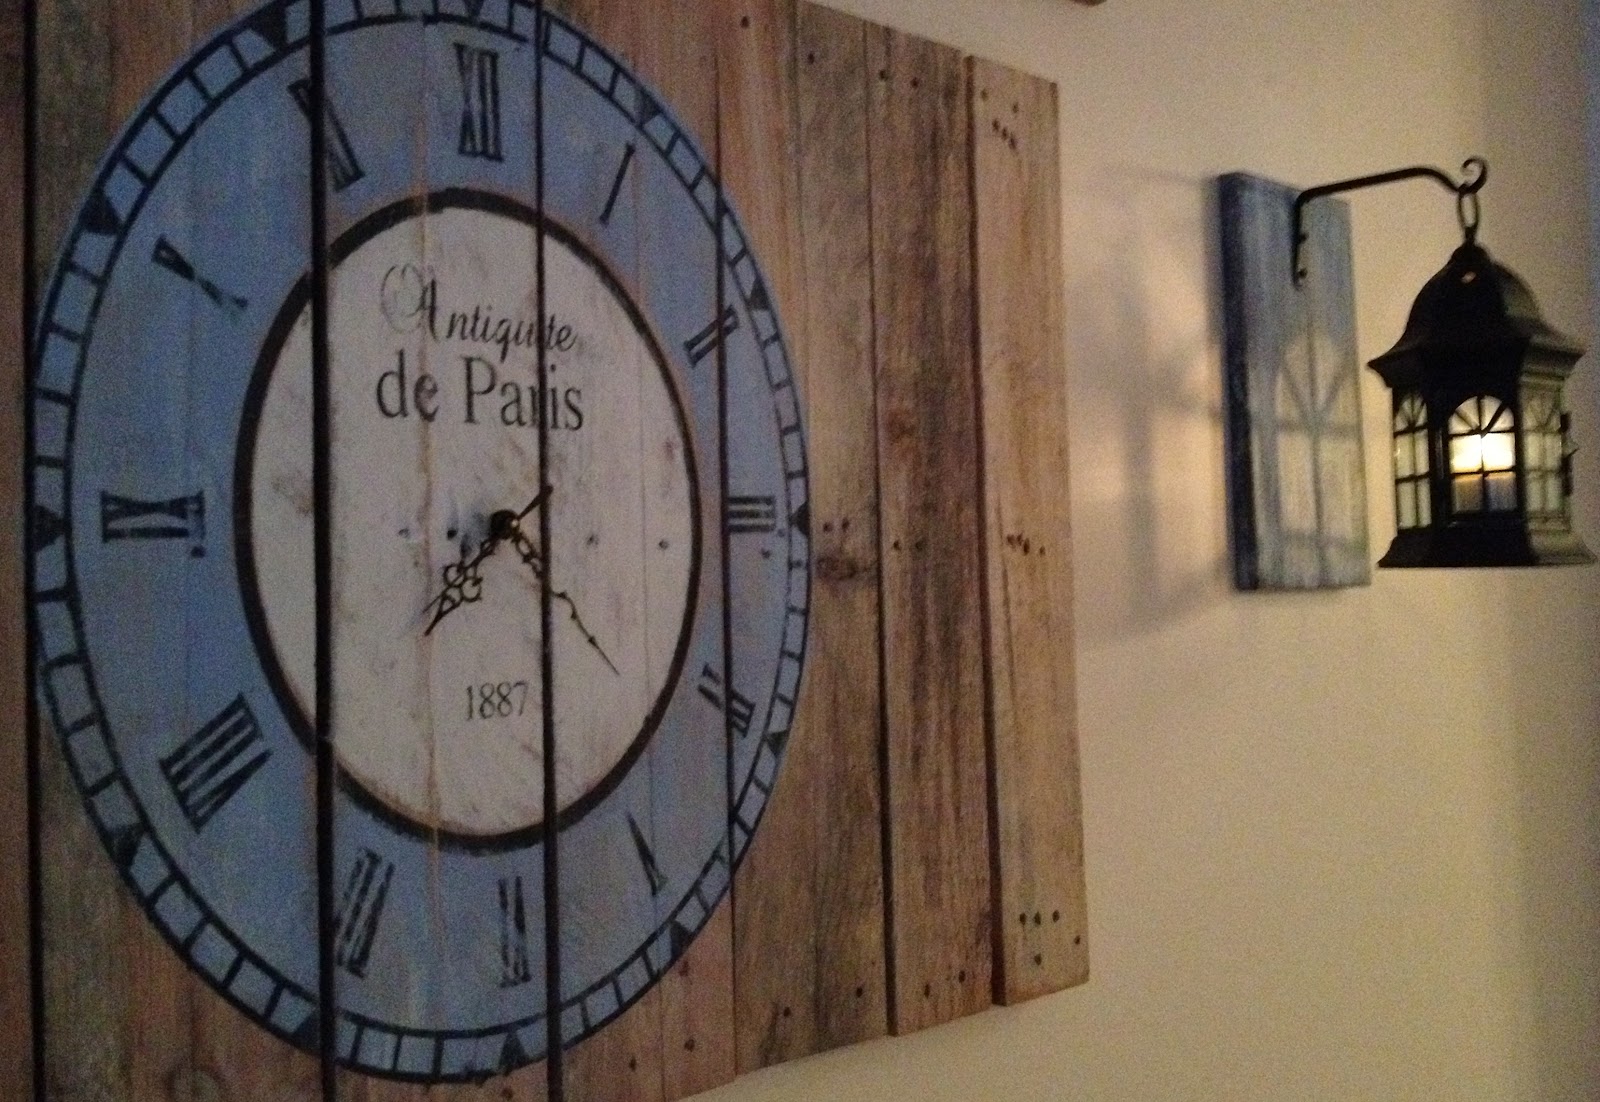
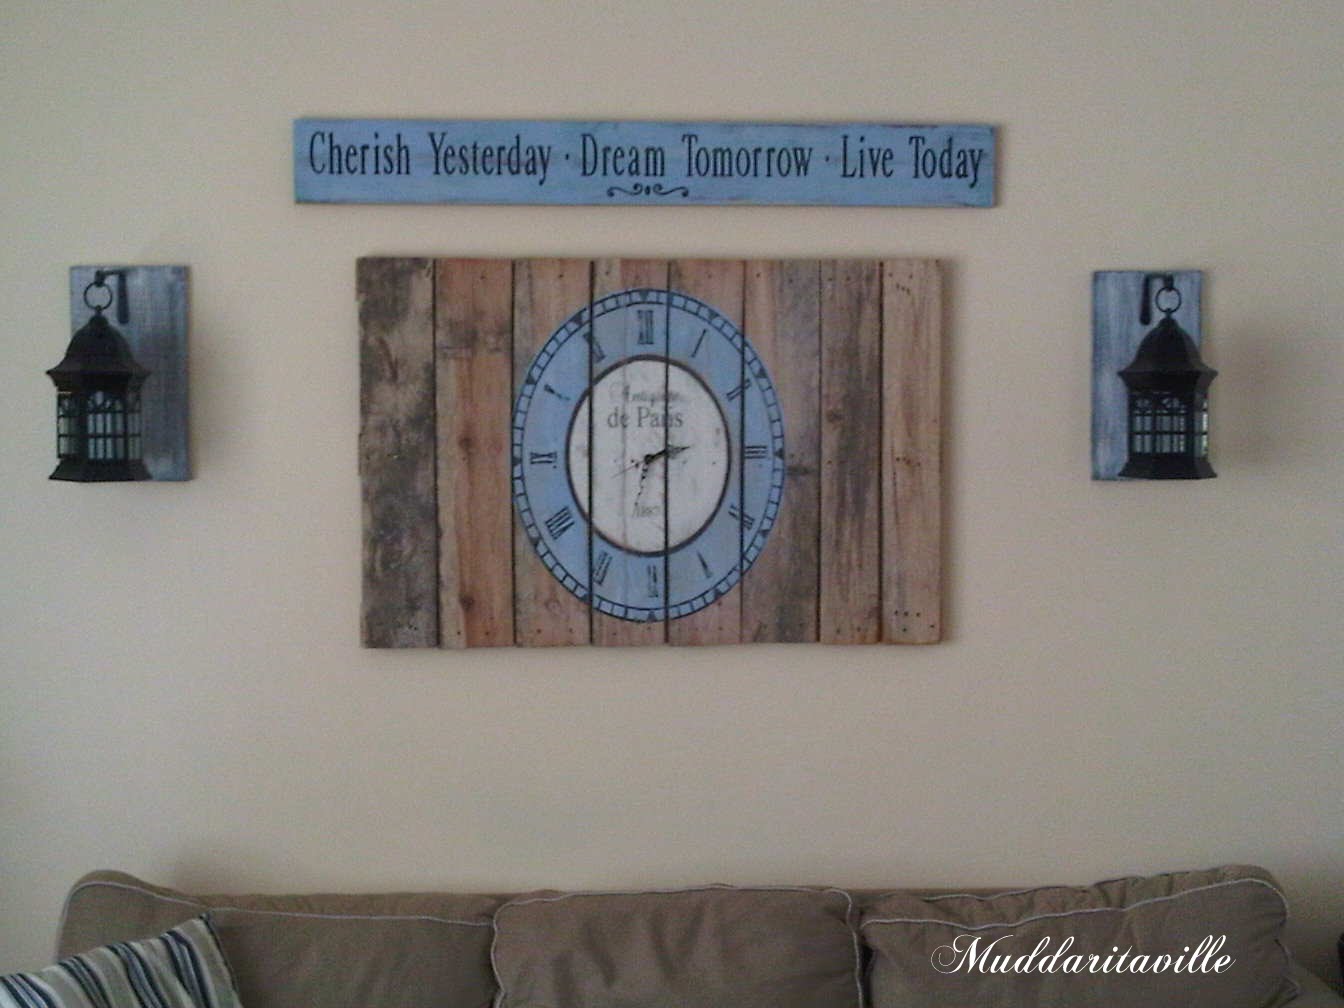
This is her first reveal, we had a problem with the hands so I purchased a better set and movement from Lee Valley. Next I painted the boards to mount the hangers and lanterns to.
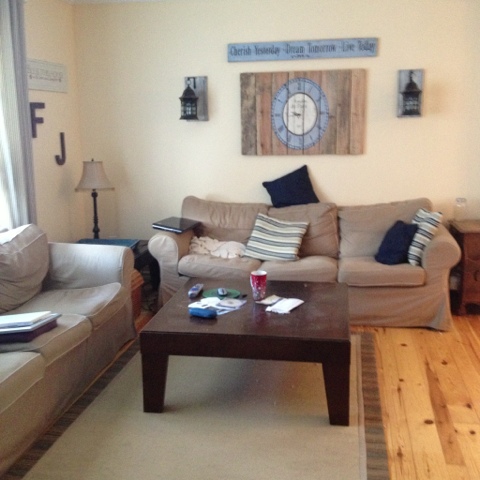
Frank painted over a sign we had already to fit our colour scheme and we decided it looked so good we would put it over the clock on the sofa wall.
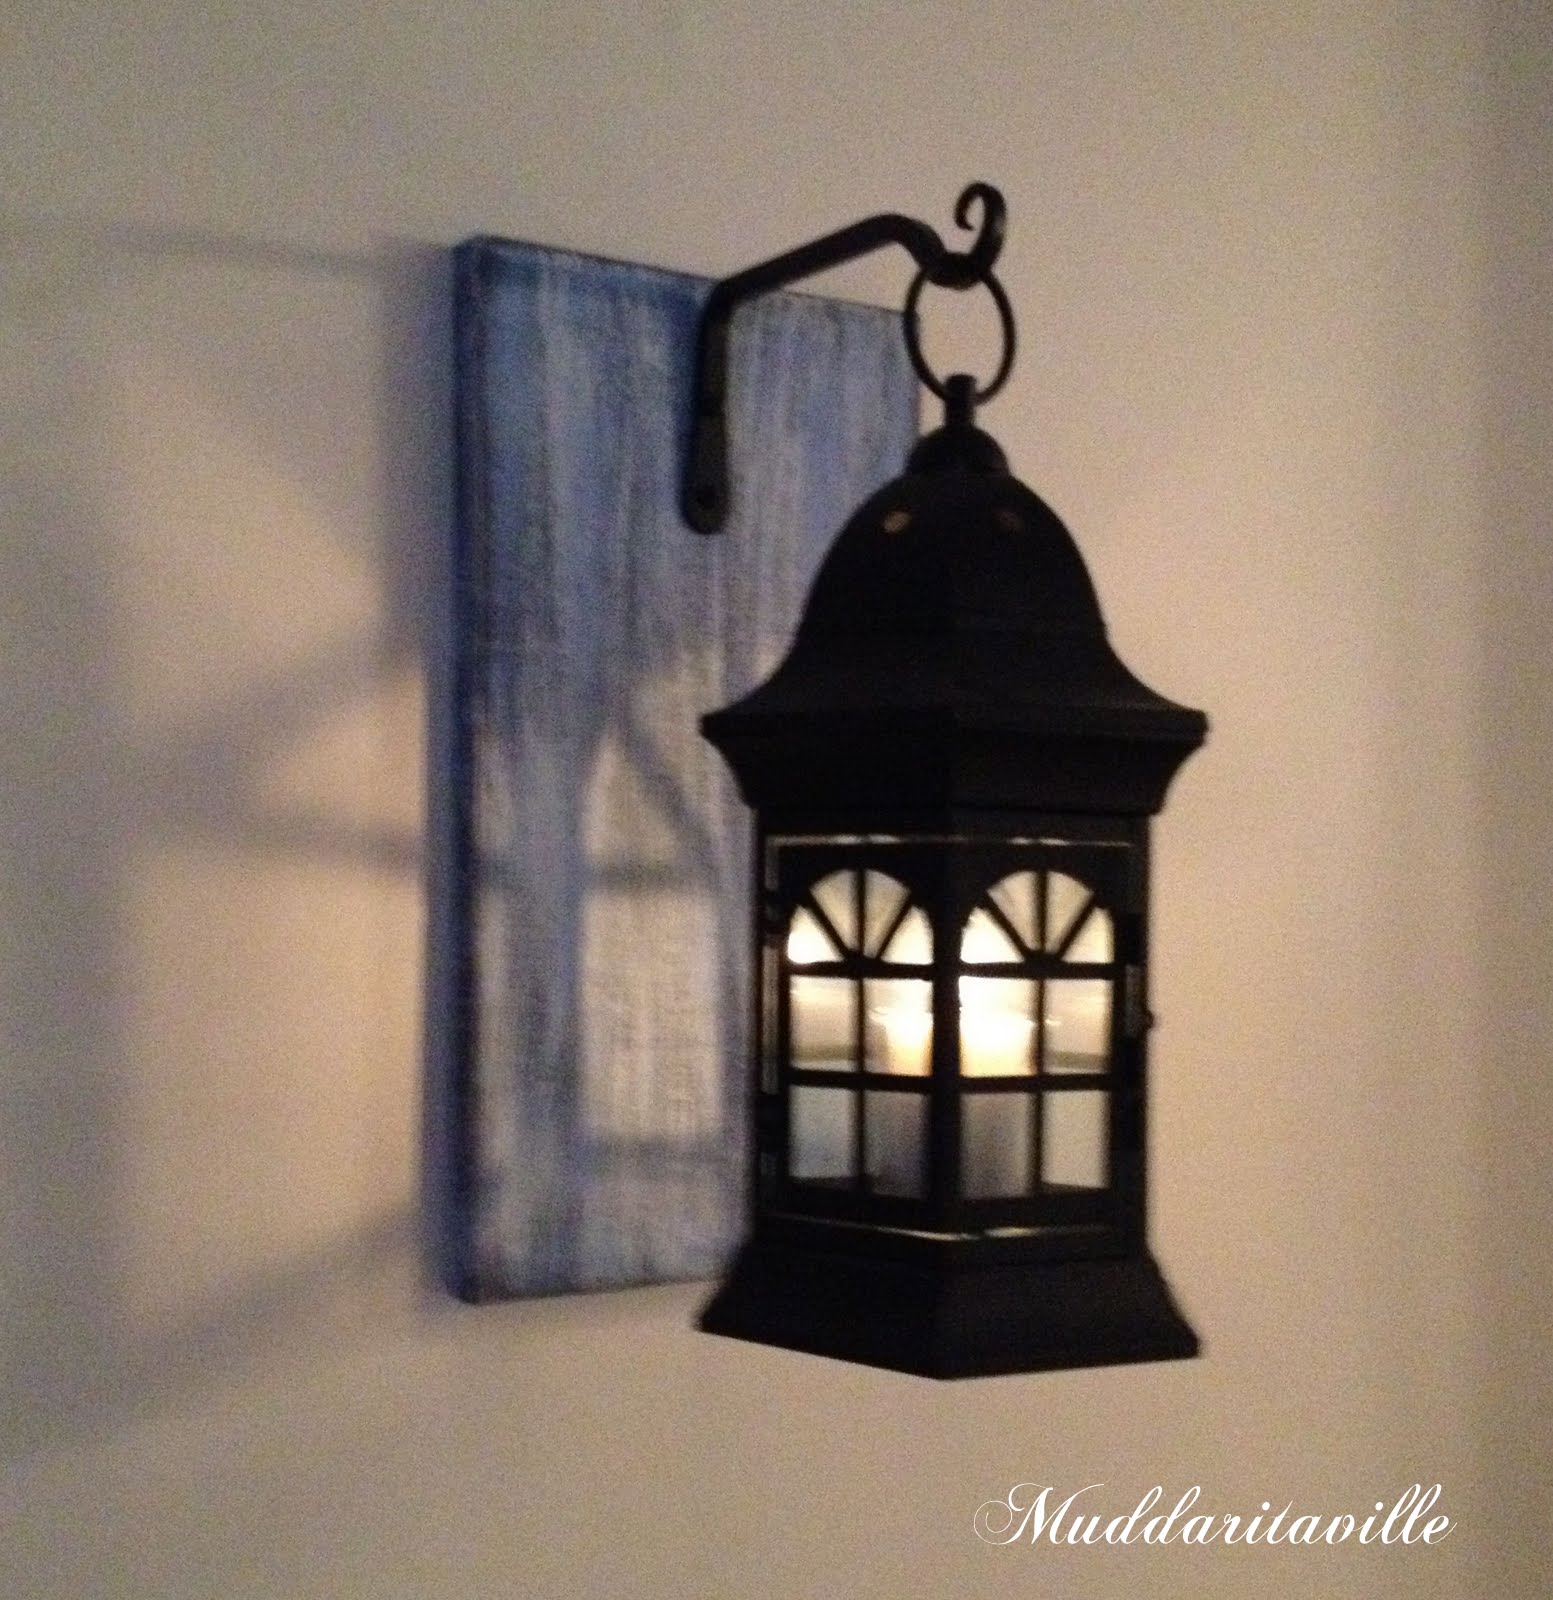
Today Frank put it all together on the wall, I am so happy with it.
Cool eh?
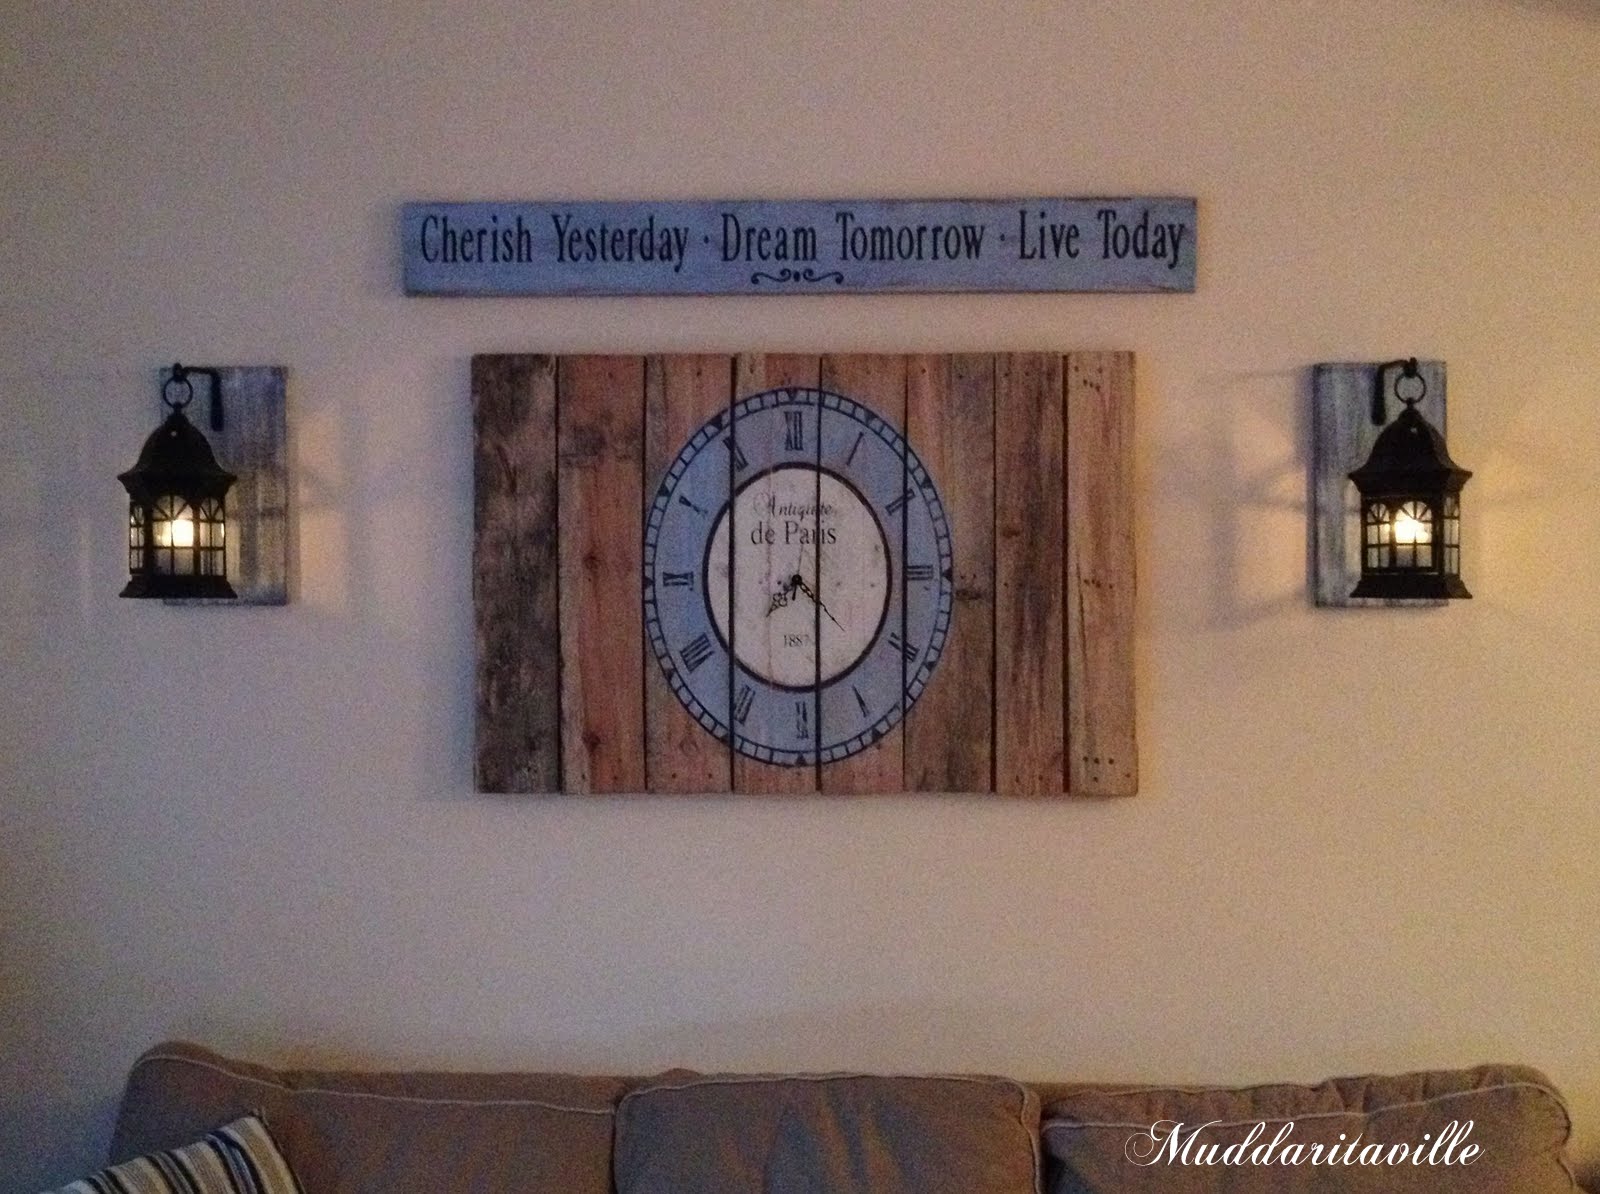
Here's an evening shot with the candles lit.
I really like the shadows these lanterns cast.
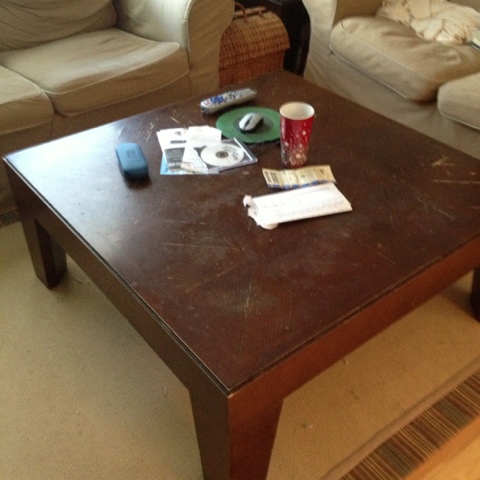
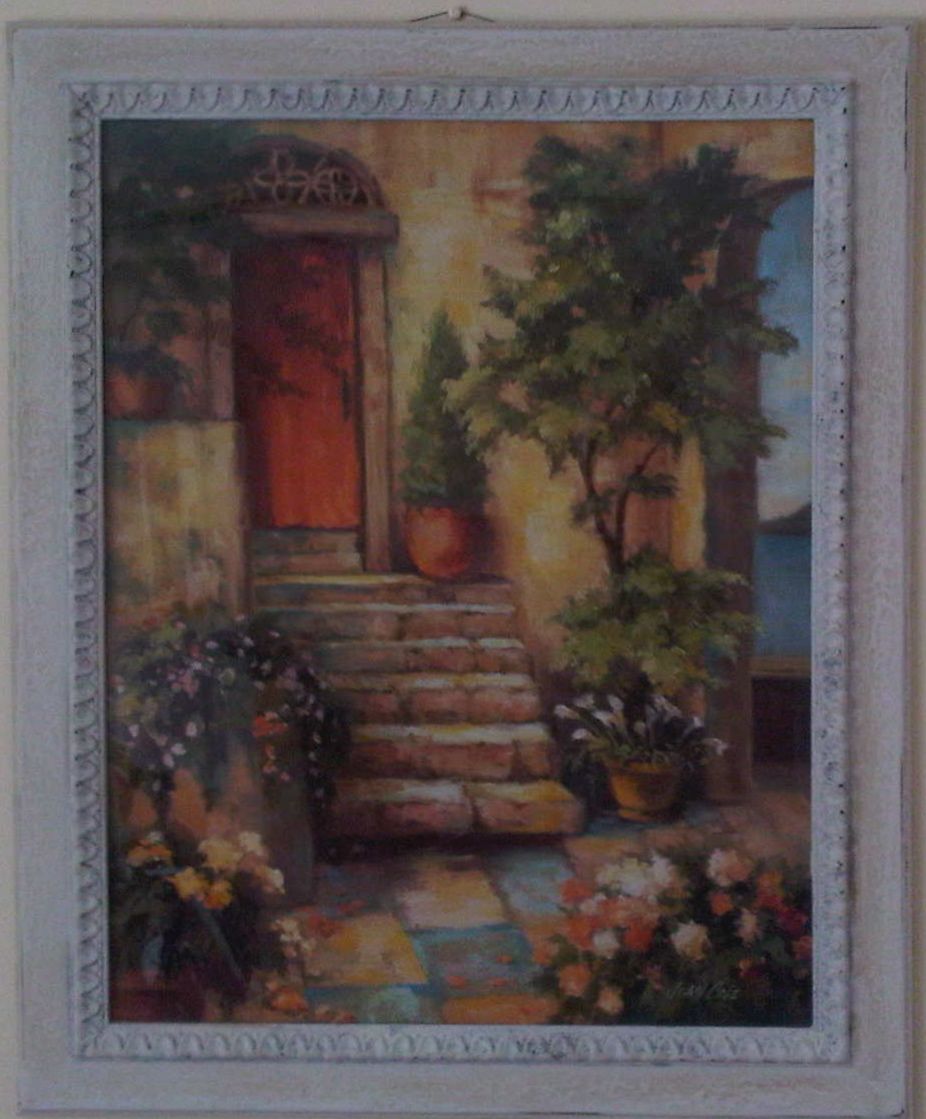
I wish I had a before photo but I hated the wall so much I didn't want any evidence.
This is the print that was on the wall, it looked lost on the wall and just did not suit our decor anymore (I'm not certain it ever really did). I sold it on Kijiji to a nice couple who picked it up last week. Yay!
I'll be linking to:
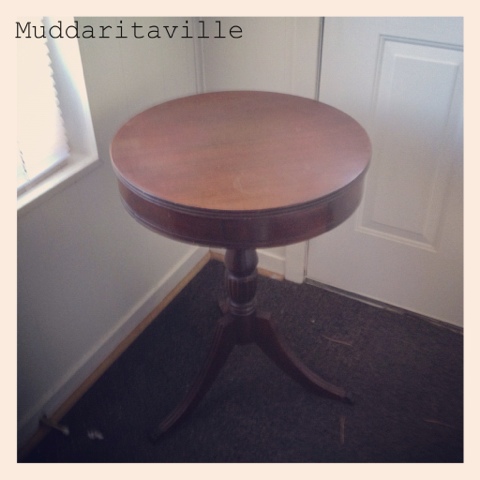
 Here she is painted and the base and apron have been distressed, she's smooth as buttah!
 I designed a french graphic using my Silhouette Design software, then cut it in vinyl using my Silhouette Cameo.
 Here is the top of the table prior to distressing with the graphic painted in Mascara and Chivalry.
 I added a silver glaze (moon glaze) to the base and Apron to give it a luminous glow.


.JPG)


